


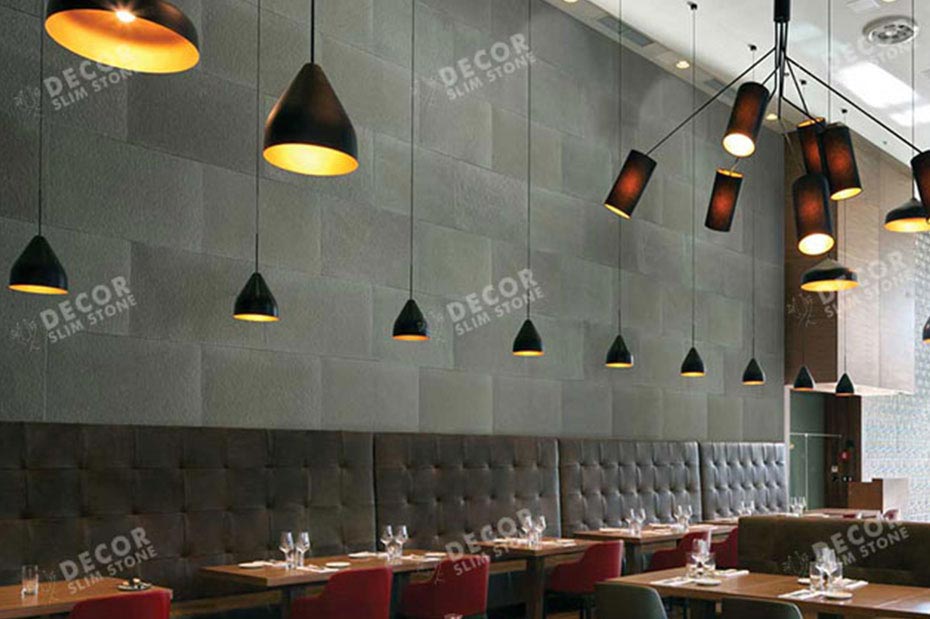
Stone veneer is one of the most sought-after interior and exterior decorating materials today. The elegant styles, captivating textures, and palette of colours make stone veneers a favourite choice for both homeowners and interior decorators.
Here, in today’s post, we give you a complete guide for stone veneer installation – the DIY approach.
Can I install slim stone veneers on my own?
Absolutely! Stone veneer installation is super-quick and easy. This means, hiring experts to do the job is quite pocket-friendly. On the other hand, if you want to take the DIY approach to stone veneer installation, then you’ve come to the right place. Here, in this guide, we explain all that you need to know.
Slim stone veneers can be installed in any place in your home, right from feature walls to tiny nooks and corners.
What are the Tools Required for Stone Veneer Installation?
Irrespective of the type and size of the project, here are a few key tools that you require:
- Trowels – To spread the scratch coat and to bond mortar.
- Angle grinder or mason hammer – To chisel or finely shape the edges of the stone veneer for a polished finish.
- Grout bag – To fill in stone joints between one stone slab and another.
- Brushes – To dampen the stone veneers. You can also use these brushes to dust and clean your stone veneer walls or slabs, after the completion of the project.
These are the basic tools that you require. Depending on the complexity and size of the project, you may require other tools.
Steps in Stone Veneer Installation
Any DIY project cannot be completed successfully without adequate planning. Luckily for you, stone veneer installations are quite straightforward, and you can complete the entire project with just a few steps.
Step 1: Choose your Preferred Location
Stone veneers can be used as an accent or focal point anywhere in the house. What more, the durability of natural stones and its weather resistance make it ideal for both indoor and outdoor applications. Whether you are designing a feature wall in your living room or redecorating the columns in your front porch, stone veneer is a perfect choice.
While choosing the location, there is just one factor to consider – the wall type. For instance, if you are installing flexible, thin stone veneer over exterior drywalls, then you require a moisture barrier between your metal lath sheet and the wall. On the other hand, if you are installing the stone veneer over exterior cement walls or concrete walls, then all you require is the metal lath.
Step 2: Decide on the Aesthetics you wish to Achieve
How do you want your stone veneer project to look like? Do you want to lay the stones in uniform lines or do you want a random approach? Large or small stone slabs? Single colour or a mix of colours? Make sure that you visualize the final output before you start laying your stone veneers.
You can even draw or print out a picture of the final aesthetics you wish to achieve before you begin the project. This will guide you while being a time saver.
Step 3: Select your Stone Veneers
This one is an interesting step, as you’ve got plenty of choices. Scout through our gallery to pick your preferred stone veneer styles.
Step 4: Measuring the Required Material
The next step is to decide how much stone veneer you require for your project. Start by measuring the width and height of your installation surface. Multiply the width and height. Subtract the square foot of any windows, doors or shelves in the installation surface.
To be on the safer side, always try to purchase an additional five to ten percent square feet, while making your order. This way, even if you mishandle the stones during installation and damage them, you can proceed with the project, without having to wait to make an additional order.
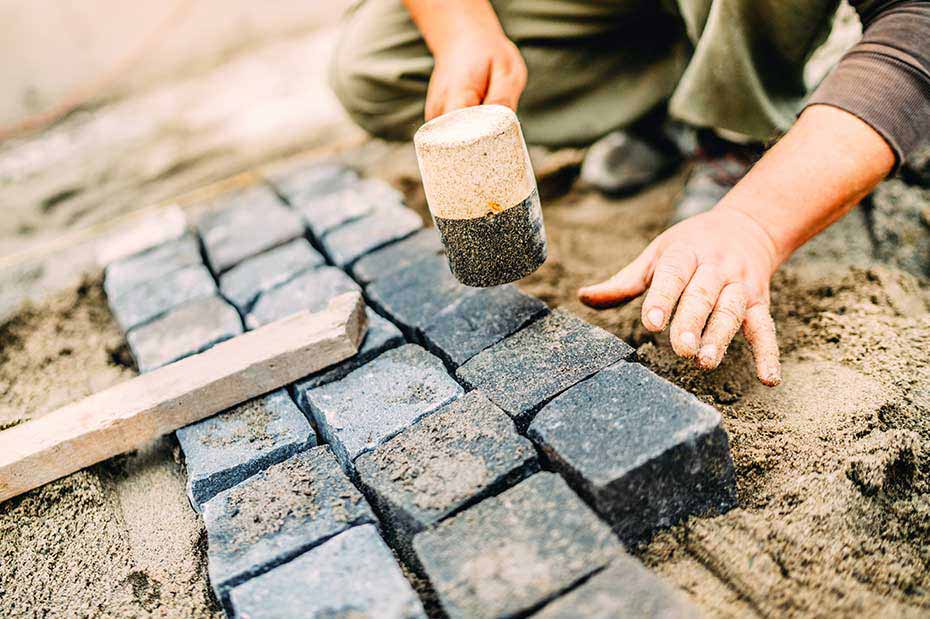
Worry not, you can use this leftover stone veneer for other craft or decorating projects around the house. Or simply, use them as paving stones for your outdoor gardens or pathways.
Step 5: Calculating the Cost of the Project
Once you have measured the required materials, the next step is to determine the overall cost of installation. This not only includes the stone veneer but also other ancillary costs like – the costs of tools and so on.
Step 6: Allocate a Time for the Project
While stone veneer installation is easy, first-timers may find it a bit challenging. Ideally, you need around 4 – 5 hours of uninterrupted time for the project. Setting aside a weekend is recommended.
Installing Stone Veneers – DIY Steps to Follow
1. Surface Layering
Get all the required tools and materials. Ensure that the base area where you want to install the stone veneers is dry and clean.
- Apply a moisture barrier – This depends on the base area type. Some walls require a moisture barrier while others don’t. If you are unsure, you can always connect with our stone veneer specialists, here at Decor Slim stone.
- Attach the metal lath barrier.
- Mix and apply the scratch coat mortar.
- Scrape horizontal grooves into the scratch coat, before it’s fully dry.
- Let the scratch coat set until firm.
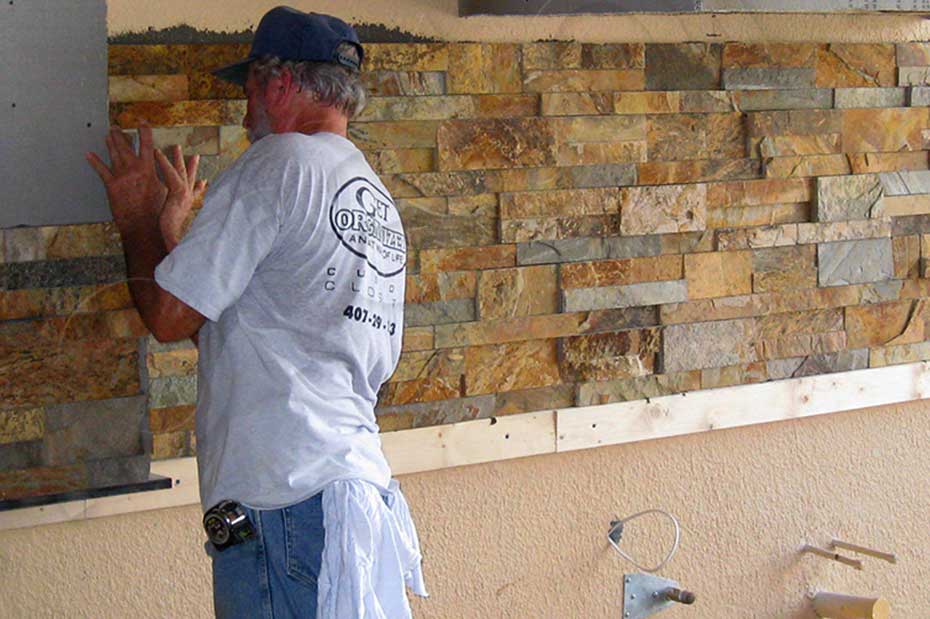
2. Installing the Stone Veneers
Arrange the stone veneers on the floors to get a clear idea of the final pattern you wish to achieve. Next, trim and shape any irregularities. Clean the stone veneers. Wipe away excess dust and other residues. Use a dry brush set for this.
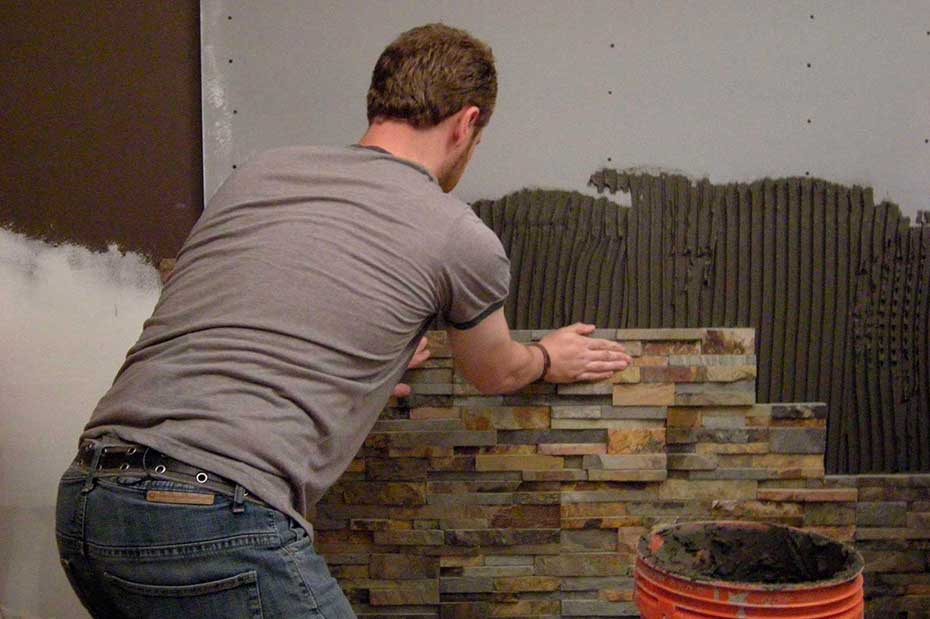
Next mix the veneer mortar. Ensure that it’s of a similar consistency to that of the scratch coat. Dampen the backs of the stone veneer slabs. Use your trowel to place a large dollop of veneer mortar to the backside of the stone veneer – the side you will be pressing into the wall. Spread the dollop evenly. This process is called as back buttering. It helps to create a strong adhesion between the veneer and the base.
Begin assembling the stone veneers on the wall. Start from the base and corners and work your way upward.
3. Apply the Finishing Touches
Use a grout bag to fill in the joints between stones. When the grout is half dry, you can use a joint tool to chip out the excess grout. Smooth out the entire surface and brush away excess dirt. Do this while the mortar is semi-wet, as congealed mortar requires plenty of muscle to chip away.
Finally, consider adding a sealer. A sealer adds an extra layer of protection to the stones and increases their longevity.
That’s it. Take a step back and admire your handy work. You have successfully completed the project. If you have any further queries, don’t hesitate to drop us a mail or call us to speak with one of our experts. Get our wide range of stone wallpapers.